Document the path, not just the finished post
A finished post shows what you published, but it rarely shows how you got there. The promising idea you set aside, the question that shaped your draft, and the reason you changed the opening may all be lost by the time you start the next piece. Documenting those choices gives you a process you can repeat and improve, rather than a finished example you have to reverse-engineer.
Keep the goal modest: make the work understandable to your future self or a collaborator. You do not need to record every edit or turn a creative session into a reporting exercise. Start with the decisions that would otherwise be hard to recall. What was the piece meant to help your audience do? What format did you choose, and why? What slowed you down? Those answers are often more useful than a minute-by-minute account.
Map the stages you actually use
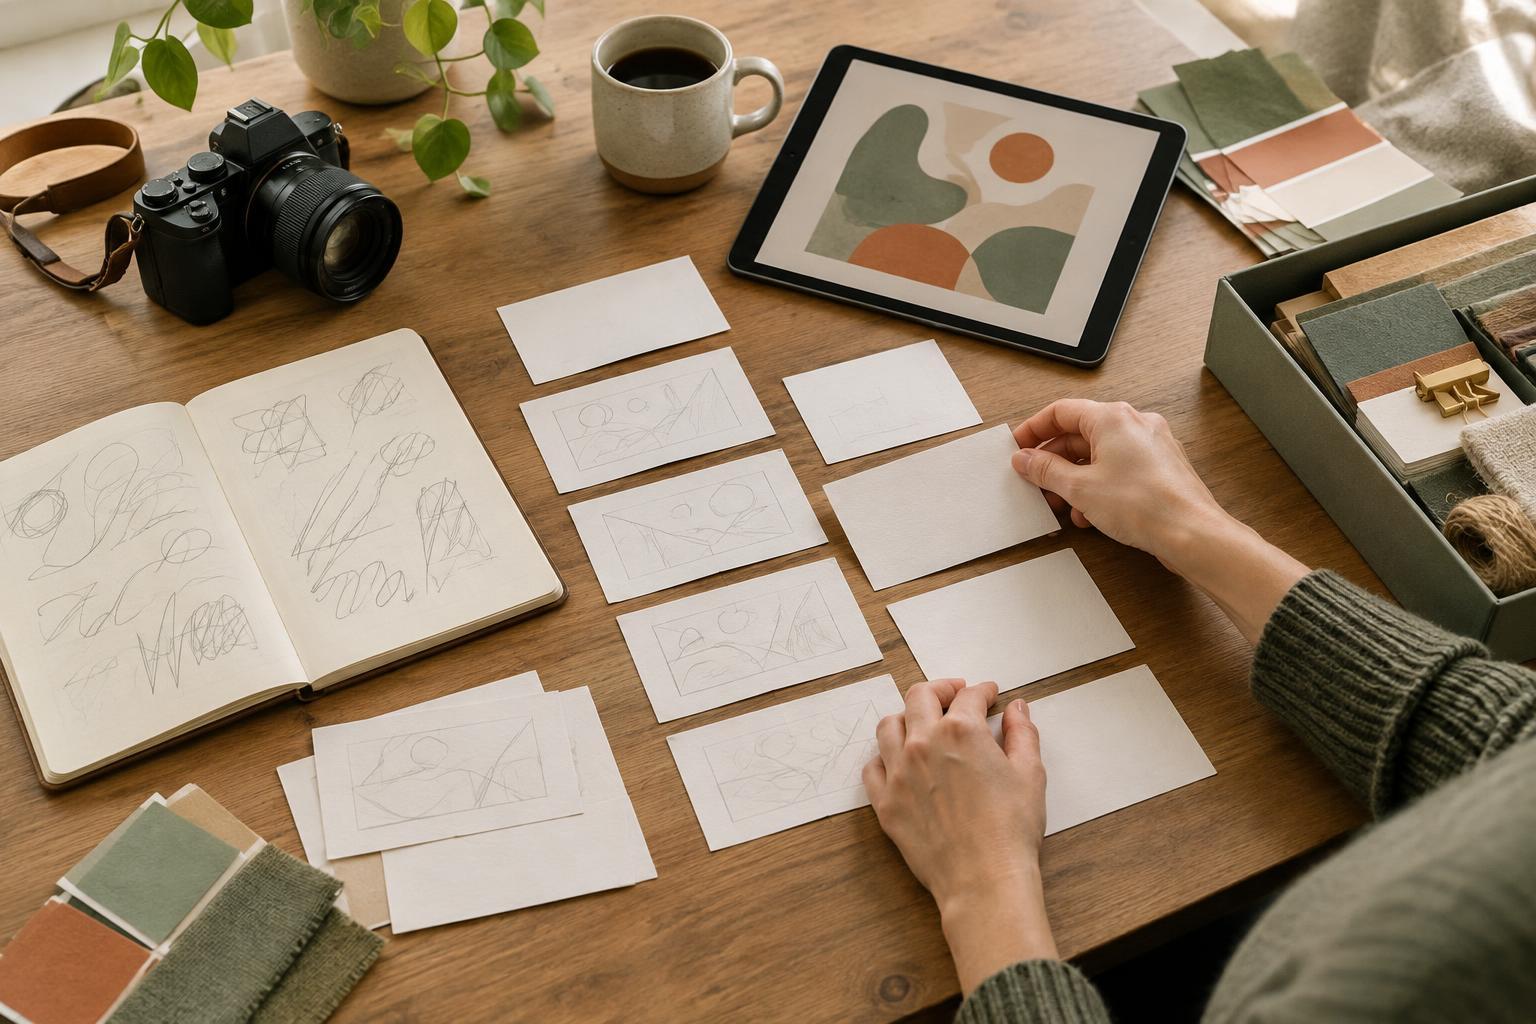
Look at one recent piece of content and write down the stages it passed through. A simple map might include capturing the idea, defining the audience need, outlining, creating visuals, drafting, editing, publishing, and reviewing responses. Use your real sequence, not an idealized one. If you usually test several openings before building the rest of a post, make that a stage. If you routinely need permission to use an image or someone’s story, include that check before production.
For each stage, note its input, output, and stopping point. An outline might begin with an audience question and end when you have a clear takeaway and supporting points. A visual stage might end when the image communicates the main idea at the size where people will encounter it. Stopping points help prevent a common workflow problem: revisiting a decision simply because you cannot remember whether you already made it.
Capture decisions while they are fresh
A lightweight creation log can sit beside the draft in whatever tool you already use. Give each project a few consistent fields: audience need, intended takeaway, format, key choices, open questions, and next step. When you change direction, add a sentence about why. For example, you might note that an image felt too crowded for a small screen, so you moved its secondary detail into the caption. That note can guide a later project without pretending the same solution will always fit.
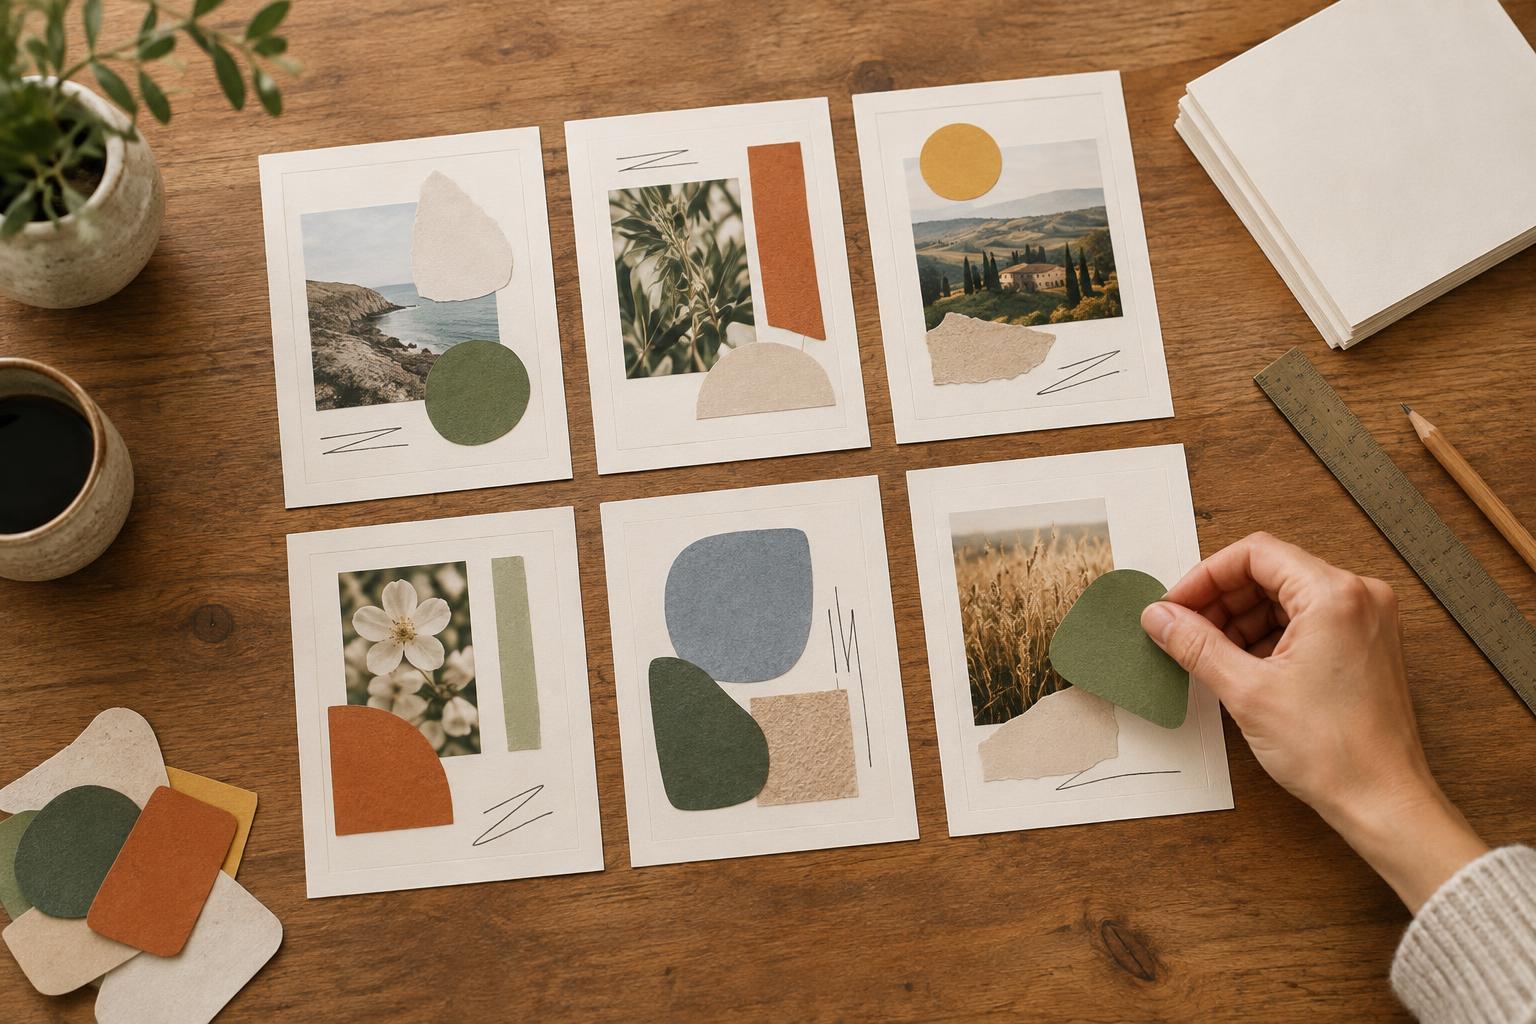
Save reusable materials with enough context to find and use them properly. This may include your brief, outline, visual files, caption draft, accessibility notes, and final version. Use clear file names and keep versions together. If a project includes audience contributions or another person’s work, record the relevant permission and credit decisions too. A repeatable process should make responsible publication easier, not just faster.
Turn the record into a flexible template
After documenting a few projects, look for steps that recur. Convert those steps into a short template with prompts rather than rigid instructions. A planning prompt could ask, “What question does this answer?” An editing prompt could ask, “Is the main point clear without relying on the image?” Prompts leave room for judgment while helping you remember the checks that matter.
Keep separate what is consistent from what changes by format. You might use one shared brief for all content, then a small checklist for a short video, a visual explainer, or a text-led post. Avoid adding a field simply because it seems thorough. If you repeatedly skip it and it does not improve decisions or handoffs, remove it. The template should reduce the effort of starting, not become another piece of content to maintain.
Review the process after publishing
Once a piece has been published, return to the record for a brief review. Note whether the content addressed the intended audience need, which questions or comments revealed confusion, and where the workflow felt unnecessarily difficult. Engagement can offer clues, but a single response or metric does not explain why something worked. Consider feedback alongside your original goal and the effort required to make the piece.
End with one adjustment for the next project: clarify the brief earlier, gather visuals before drafting, leave more time for editing, or simplify a review step. Small changes are easier to test than a complete overhaul. Over time, your documentation becomes a practical guide to how you create well—not a rulebook that prevents you from trying something new.