Start with the light you already have
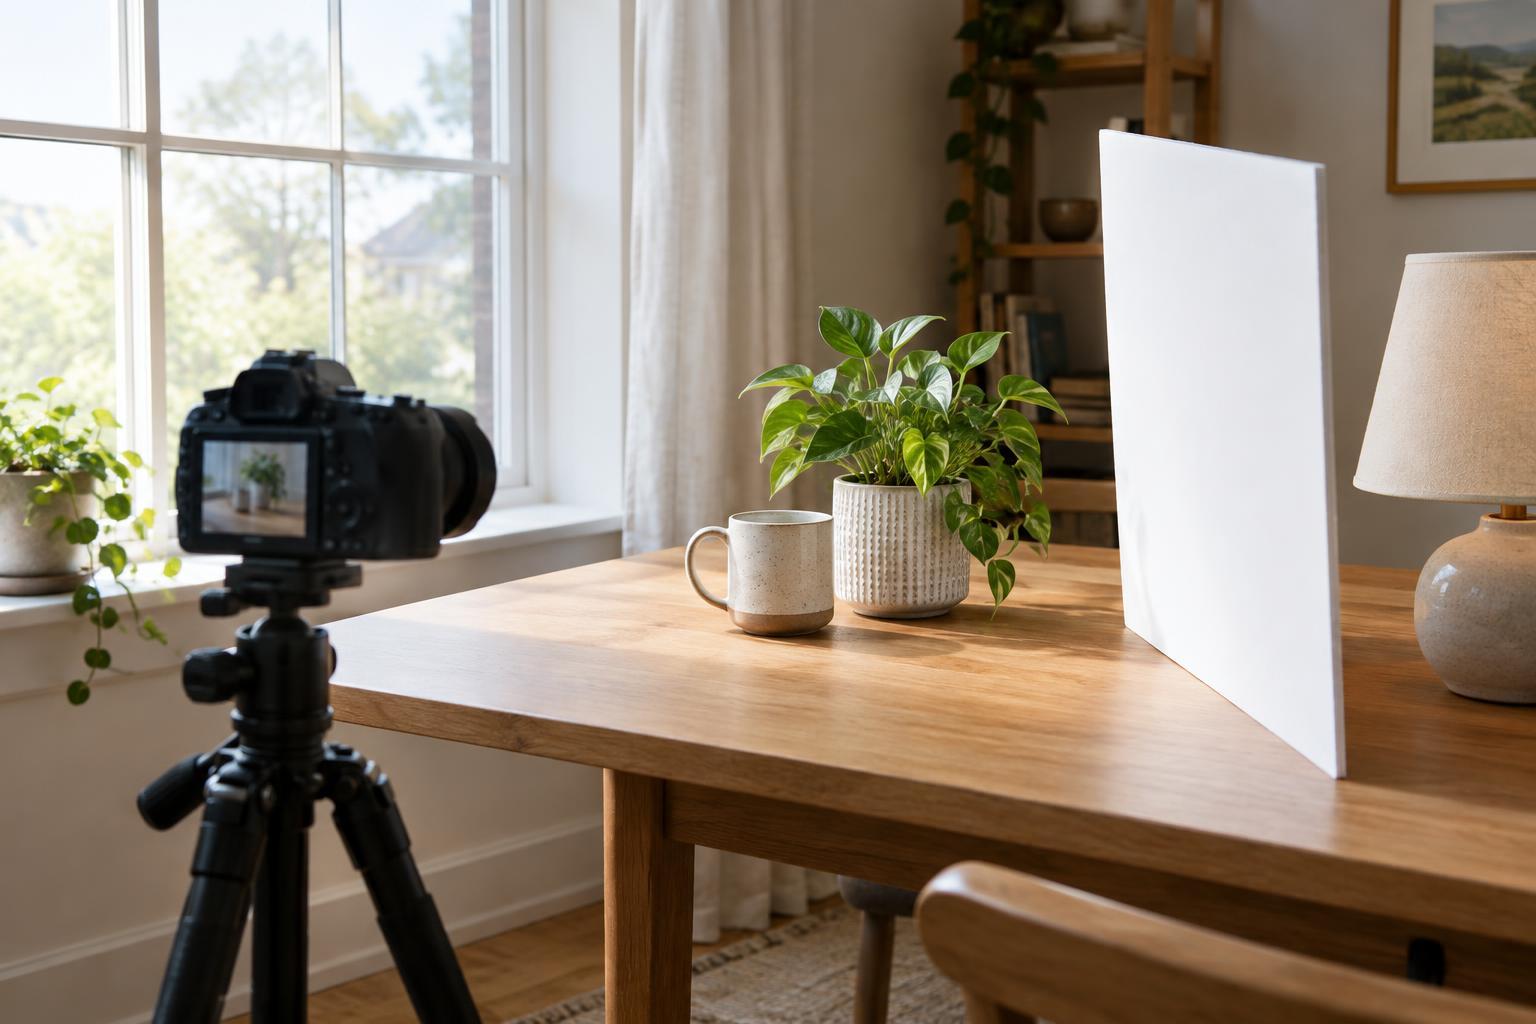
Before moving a camera or buying a light, look at the room. Turn off unnecessary lamps and notice where daylight enters, which surfaces it reaches, and whether it creates hard or soft shadows. A large window can provide soft, flattering light when the sun is not shining directly through it. Direct sunlight can also work, but its bright highlights and deep shadows are harder to manage.
For a person speaking to camera, try facing the window or turning slightly toward it. For an object, place it near the window and rotate it until its shape and texture are easy to see. Avoid putting the brightest window directly behind your subject unless you want a silhouette. Take a quick test photo or short clip: the screen will often reveal distracting shadows that are easy to miss while arranging the scene.
Change direction before adding brightness
More light is not always the answer. Its direction has just as much effect on clarity. Light coming from the front makes details easy to see, but a straight-on source may flatten the subject. Moving the source or subject a little to one side can add gentle depth. Side light can bring out texture in food, crafts, and products; for faces, a smaller angle is often easier to work with because it keeps both eyes visible.
If shadows look too strong, move the subject closer to a large light source or soften the light. A sheer curtain can diffuse direct sun, while bouncing a lamp off a pale wall can spread its glow. Keep fabric safely away from hot bulbs. Make one adjustment at a time, then compare the result. This helps you learn whether the problem was the light’s direction, its intensity, or something else in the frame.
Use a simple reflector to lift shadows
A reflector sends some of the available light back toward the darker side of a subject. You can use a white wall, a sheet of white card, or a light-colored board placed opposite a window. Move it closer for a stronger effect and farther away for a subtler one. This is especially useful when one side of a face or object looks much darker than the other.
You do not have to remove every shadow. Shadows help viewers understand shape and can give an image a sense of mood. Aim to keep important details visible rather than making the whole scene equally bright. Check reflective objects, such as glasses or glossy packaging, as you move your board: the reflector itself may appear in them. A small change in angle can often clear the reflection without losing the fill light.
Make lamps work together for video
When daylight is limited, start with one lamp rather than switching on every light in the room. Place it a little to one side of the camera and above eye level, if its design allows safe positioning. Keep the subject far enough from the background that their shadow does not dominate it. If the lamp produces sharp shadows, try moving it farther away and bouncing it off a light wall; check that enough light still reaches the subject.
Different bulbs and daylight can give parts of a frame noticeably different color casts. If a face looks natural but a nearby wall looks orange or blue, try turning off competing lights, using similar bulbs, or blocking some daylight. For longer recordings, note that daylight can change while you film. A lamp-only setup may be easier to repeat, even if you prefer the look of a window for short sessions.
Build a repeatable setup, then check the frame
Clear lighting also depends on what surrounds the subject. A bright cluttered background can pull attention away from a person, product, or demonstration. Move distracting objects, choose a calmer camera angle, and look for patches of light that draw the eye in the wrong direction. Clean the camera lens before filming, and tap the main subject on your phone screen to check focus and exposure. If available, lock those settings so the brightness does not keep shifting as you move.
For a sustainable content routine, record the basics of a setup that works: where the subject sits, which lights are on, where the camera stands, and what time of day you use the window. A short test clip can confirm that facial expressions, hand movements, or product details remain visible throughout the shot. Once the essential information is clear, you can choose softer, brighter, or more dramatic light to suit the story you want to tell.